 Notion
Step-by-step guide to connect ATG to Notion: create an integration, configure permissions, grant page access, and import the token in ATG.
Approximate time to complete: 3-5 minutes
Before you begin
To connect ATG to Notion, you will need:
- A Notion workspace where you have permission to create integrations and manage page connections
- An ATG Administrator account to configure the connector in the Admin Console
The setup involves four steps:
- 1. Create a Notion connection
- 2. Configure permissions and copy the access token
- 3. Grant access to your Notion content
- 4. Connect Notion in ATG
1. Create a Notion connection
Open the Notion Developer portal
Go to the Notion Developer portal and open the Connections page.
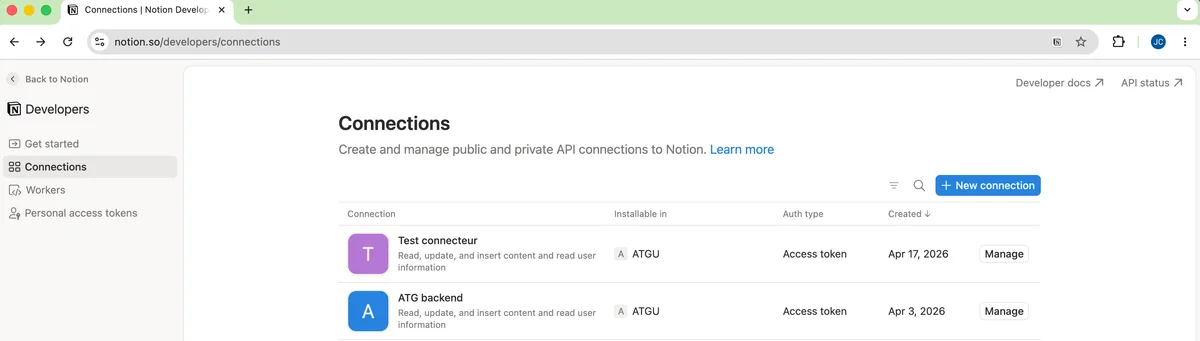 Notion Developer portal, Connections page
Click + New connection to create a new integration.
Create the connection
In the New connection dialog:
- Enter a Connection name (for example,
Ask This GuyorATG) - Select Access token as the authentication method. This is the workspace-scoped token ATG uses to read your content.
- Choose the workspace where the connection will be installed
 Notion, New connection dialog
Click Create connection.
2. Configure permissions and copy the access token
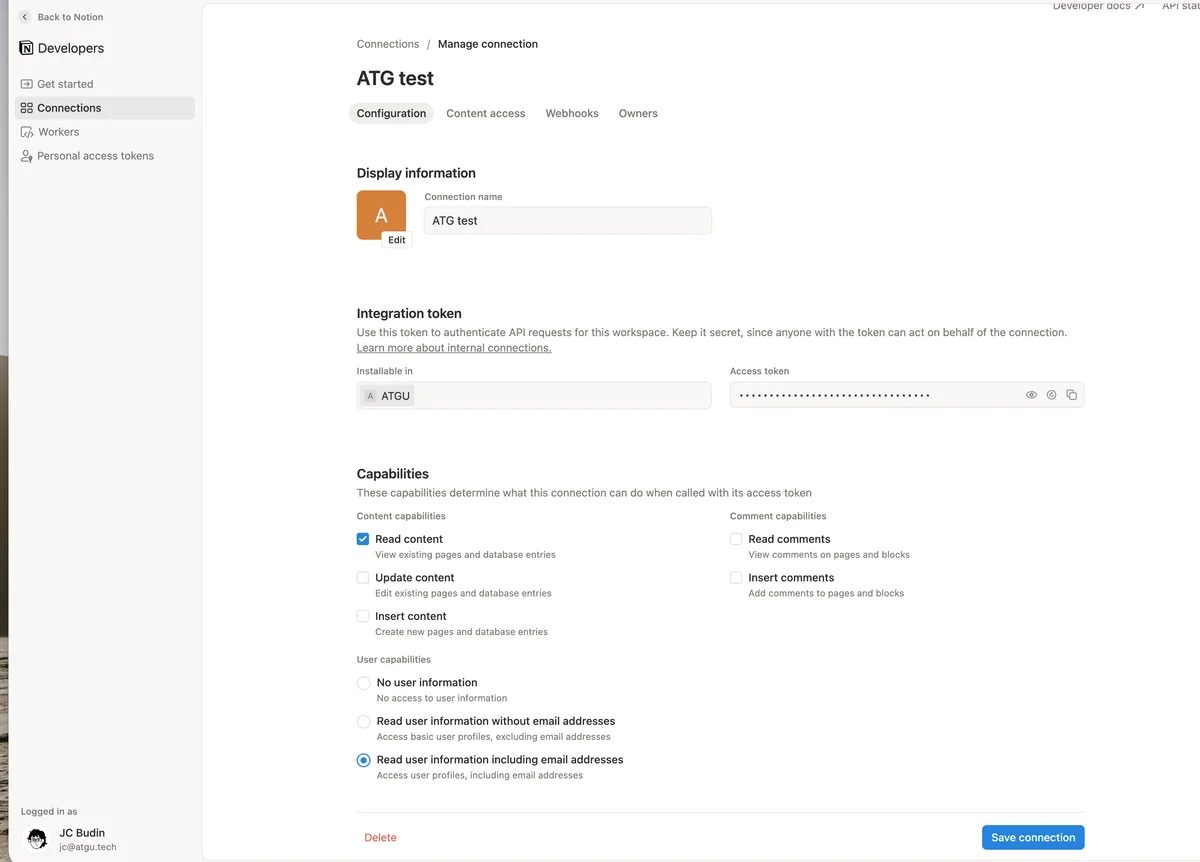
After creation, you are redirected to the connection configuration page.
 Notion, Connection configuration
Under Capabilities, enable the permissions ATG needs:
| Capability | Required |
|---|---|
| Read content | Yes. Allows ATG to import pages and databases. |
| Read user information including email addresses | Yes. Allows ATG to attribute content to the right users. |
| Update content | No |
| Insert content | No |
| Read / Insert comments | No |
Before saving, copy the Access token from the Integration token section using the copy button. You will paste this token in ATG later. Store it securely, for example in a password manager.
Click Save connection to apply your changes.
3. Grant access to your Notion content
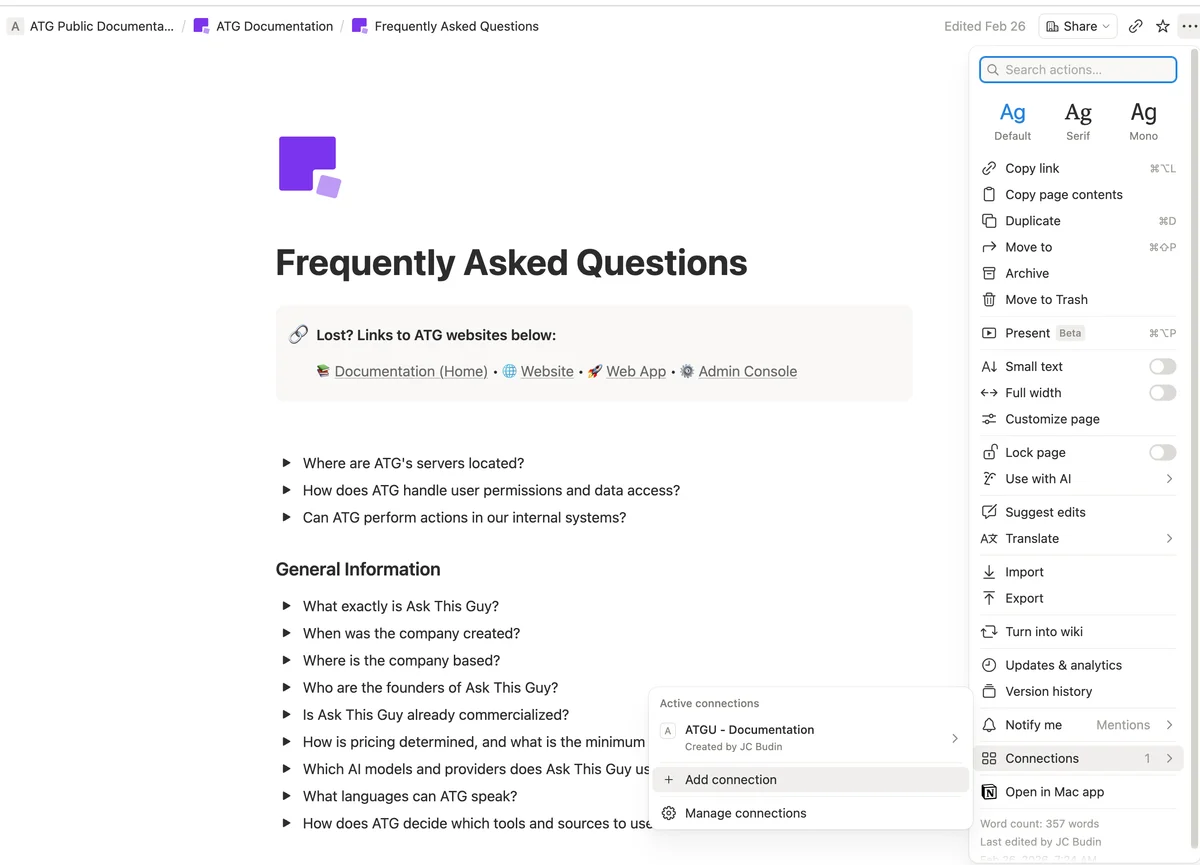
Notion integrations only access pages you explicitly authorize. For each page (or top-level page whose subtree you want to sync), you must add the connection.
Open page settings
Navigate to the Notion page you want to make available to ATG. Click the ⋯ menu in the top-right corner, scroll down to Connections, then click + Add connection.
 Notion, Page menu, Connections section
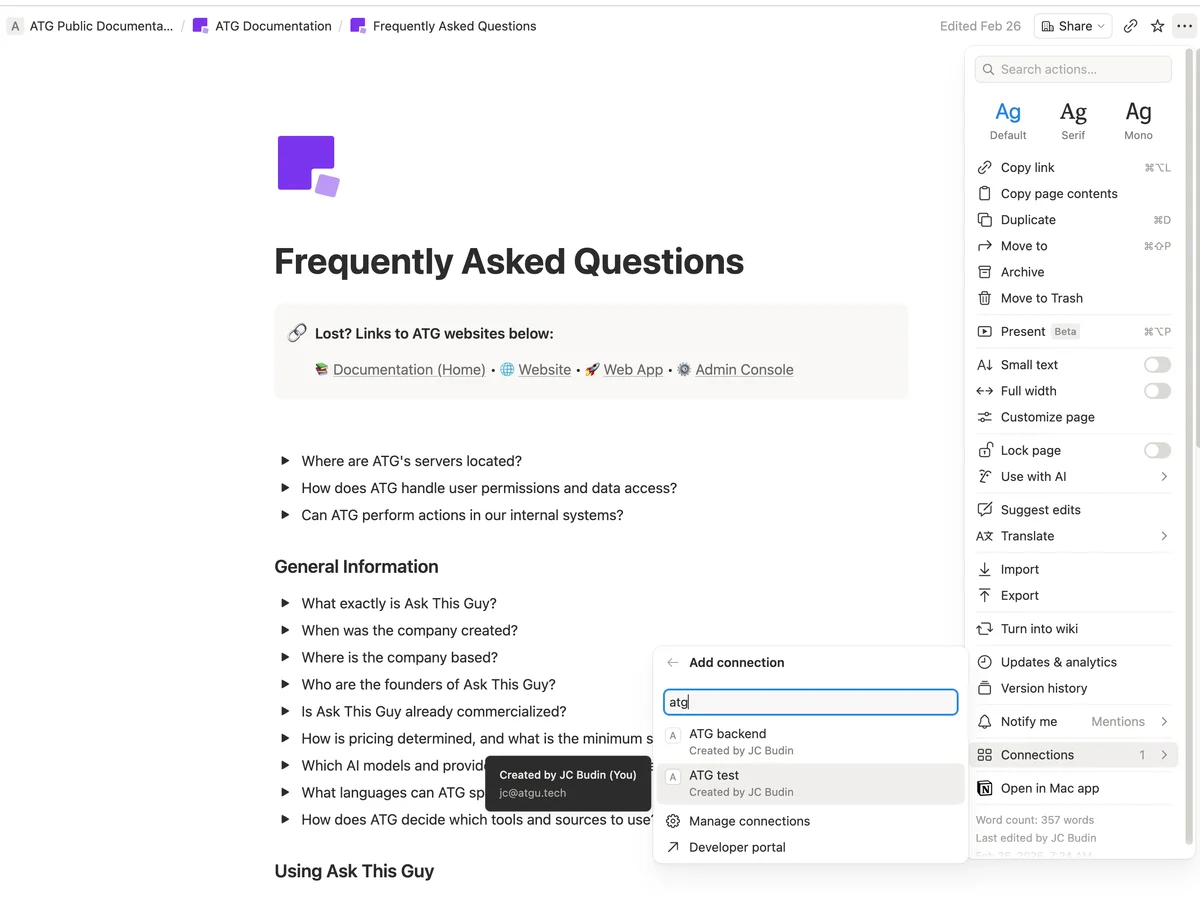
Select your connection
In the Add connection panel, search for the connection you created (for example, ATG), then select it from the results.
 Notion, Add connection search
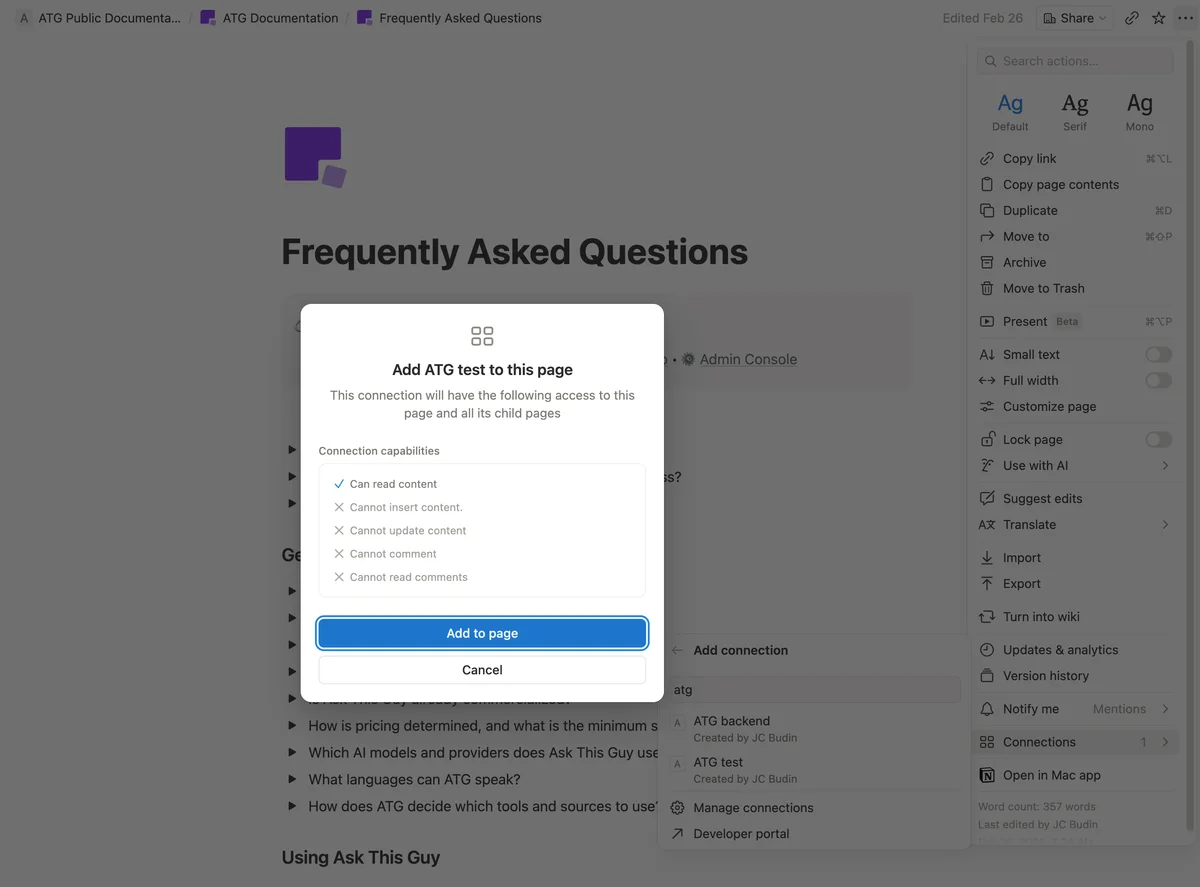
Confirm access
Review the permissions in the confirmation dialog. ATG only needs read access. You should see Can read content enabled and write/comment permissions disabled.
Click Add to page to grant access to this page and all its child pages.
 Notion, Confirm connection on page
4. Connect Notion in ATG
Open the Connectors menu
Go to the Connectors tab in the ATG Admin Console.
Click Add connector and select Notion.
Paste your access token
Paste the Access token you copied from the Notion Developer portal, then click Validate.
Add a source
Once the connector is validated, go to the Sources tab and click Add source.
Select the Notion connector, then configure which spaces and pages to import. You can include or exclude specific content to keep your knowledge base focused.
Click Save to start the initial sync.